I first encountered screenprinting at the London College of Printing (now LCC), where I was given an introduction to the method, before I dropped out of my course there and set off on this terrible career of mine. I loved spending time in the printing studios at LCP, and at the time, it was my biggest regret about never going back. A couple more flirtations followed (including a misguided attempt at making my own UV lightbox and photosensitising screens that didn’t go very well), and the last time I really tried to do any screenprinting was now somehow about twelve years ago.
My significant other got me some new screens and squeegees for my birthday this year, so I have spent the past couple of months teaching myself how to do it again. It took a couple of attempts at a couple of methods, but I am pleasantly surprised with my eventual results. This is a (nine-minute) video of the entire process.
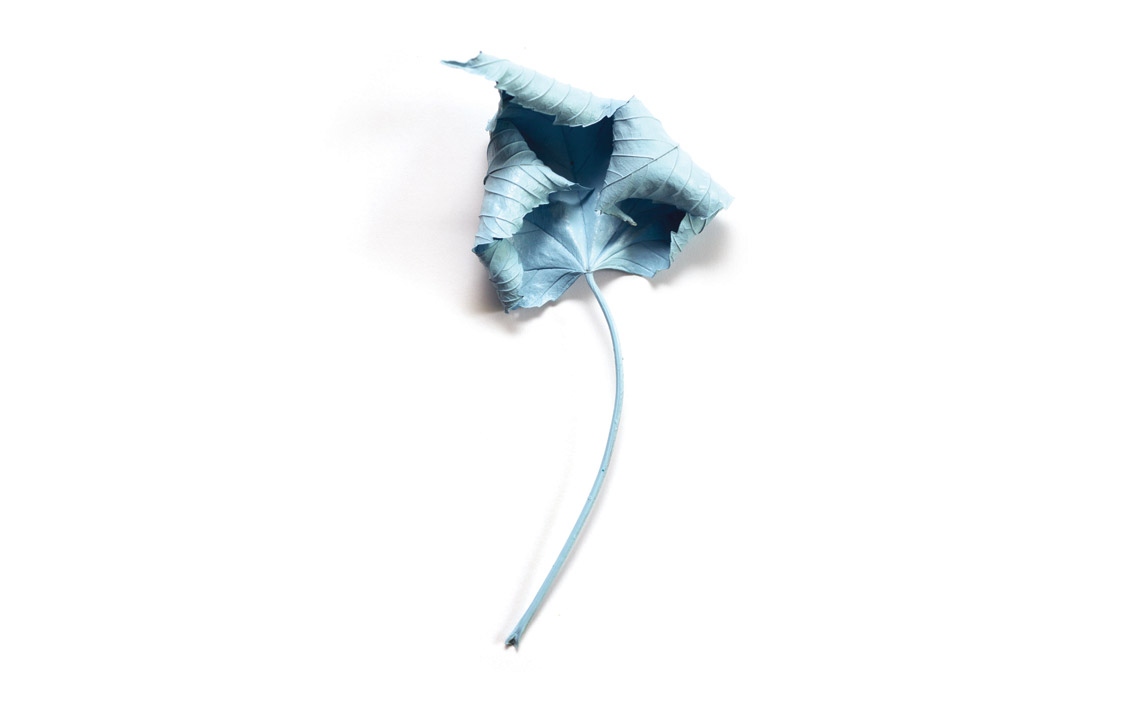
I picked an illustration idea from the post-it archive and got to work tracing it, separating it into the two-colour print I had imagined, and scaling it for the size of print I wanted to make. Once that was prepared, I made my first attempt at preparing the screens.
The drawing fluid and screen block method was a pretty miserable failure for me, but it’s hard to tell how much of it was user-error, how much was because my mediums were old enough to walk themselves to secondary school, and how much was just the limitation of the technique. The drawing fluid part went OK, but though the screen block didn’t seem thicker than I remembered it being when it was new, it looked a lot thicker than what I had seen in other demonstrative videos on YouTube. It took ages to dry, began crumbling even when washing out the drawing fluid, and generally yielded miserably blurry, bleedy results.
After sulking for a bit, I heard about a technique using sticky vinyl and a plotter-cutter. I don’t have a plotter-cutter, but I am a patient person with a Stanley knife, so I gave it a shot. To quote Brian Butterfield, the results have been incredible. There was still plenty to learn though – in particular, the seagulls in the design ended up coming off the first screen because I think I handled their vinyl cutout pieces too much (better get the tweezers out!), so half of the prints don’t have the gulls in them at all.
Also, my favourite 3M 3434 blue painter’s tape is too sticky to transfer the smaller details to a screen, so that required an intense tweezer job too. I was convinced this was going to fail like the seagulls, so I didn’t bother recording that part of the process. I proved myself wrong; it held up way better than the gulls, and yielded brilliant results that even survived the washing of the screen at the end of the run. My next port of call would be to try some low-tack vinyl transfer tape, but that’s another project for another project.
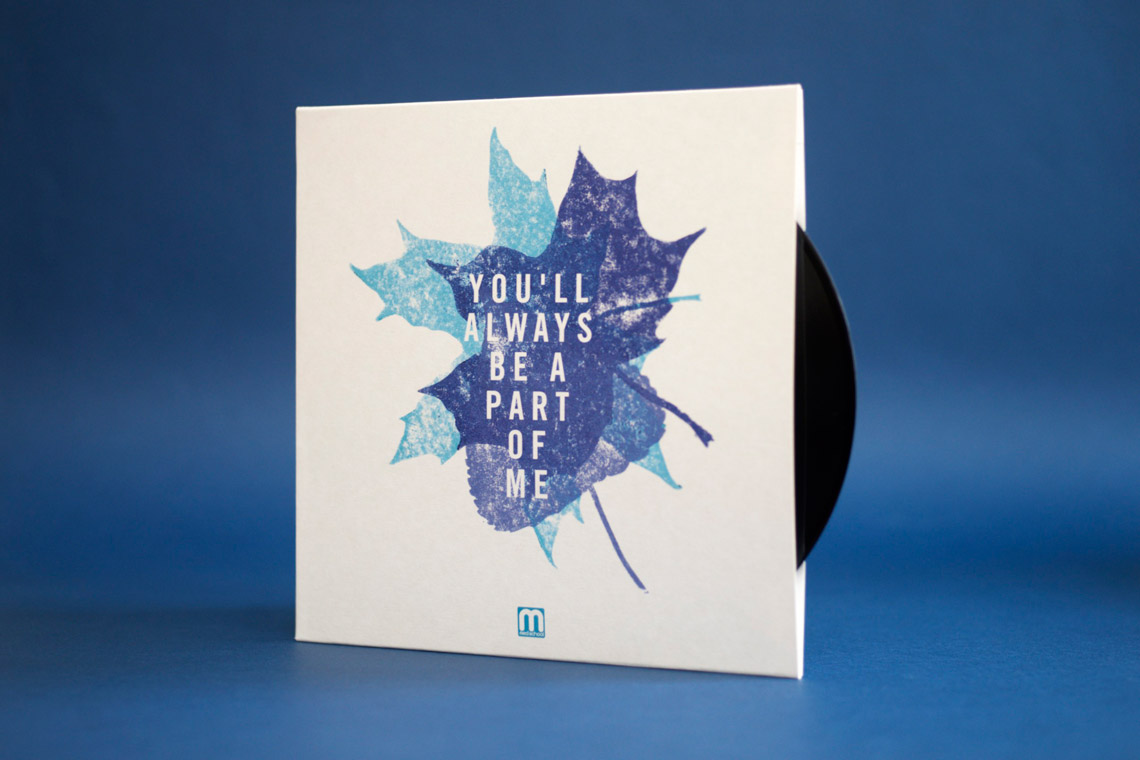
There is still also a lot to be improved with regard to registration, but I have a couple of ideas for addressing that. I really liked the unpredictable results from my badly-mixed paint streaking through the blue layer, and that is a technique I will also do more to exploit in future printing projects. In all, it’s only a dozen prints, but each one is a little bit different, which I love – if they were all perfect then it wouldn’t have been worth it and they may as well have been giclee prints.
I have been sucked into the world of restoration videos on YouTube recently, particularly the channel of Hand Tool Rescue. The way I put this video together is a little inspired by his (and the whole subgenre’s) work. Making video is lots of work, and lots of overhead on disk space.
If you’d like to buy one of these prints you can email me at ricky@trickartt.com. They are 20x15cm / 8×6”, which is a standard picture frame size.